
Meet SenSolve
Your chamber readings, within reach.
SenSolve connects your chamber to an online dashboard so you can check its readings remotely. The readings available depend on your chamber configuration. Follow the five steps below to connect the antenna and add the chamber to your Blynk account.
Before you begin: Have your SenSolve envelope, a phone or computer, and access to your work email ready.
A visual guide
Five steps to your first readings.
Choose a step to see what to do. The full instructions follow below.
Static illustrations follow your device’s reduced-motion setting. Choose any step below.
Start with the envelope supplied with your chamber.
Inside are the antenna and your chamber-specific claiming document. Keep both ready, and check that the chamber name matches your equipment.
The claiming details belong to your chamber. Keep the document for future reference.
Find your SenSolve envelope
Your chamber is supplied with an envelope containing the antenna and SenSolve document with your chamber-specific claiming QR code.
Keep the document with you. Check that the chamber name on it matches the chamber you are setting up. If the envelope or code is missing, contact us before continuing.
Connect and position the antenna
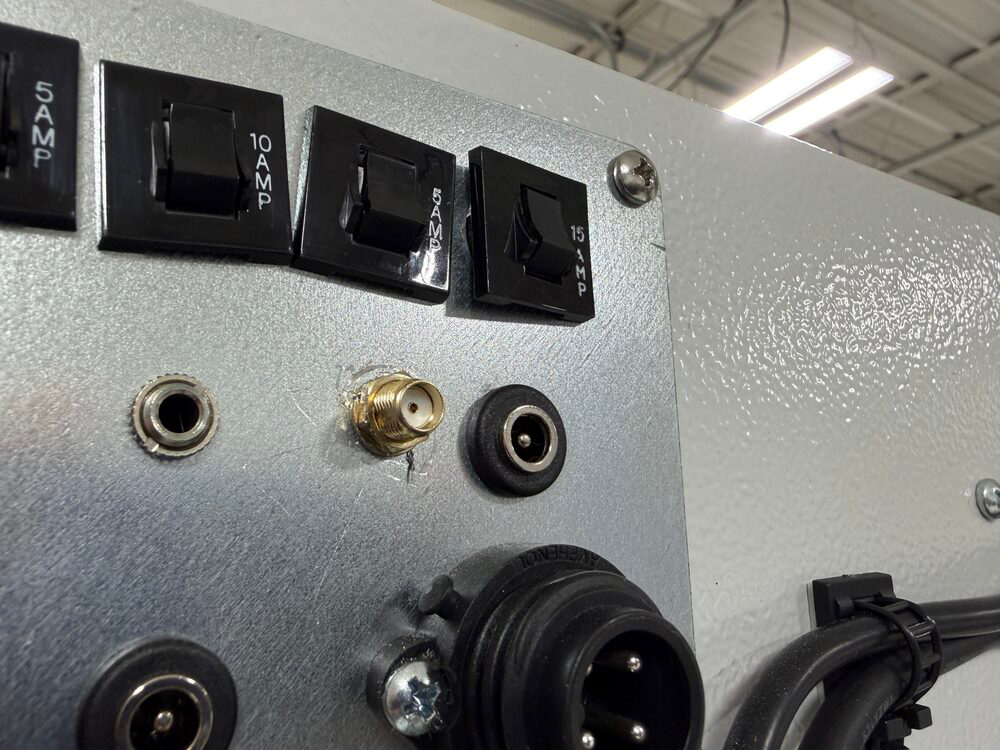
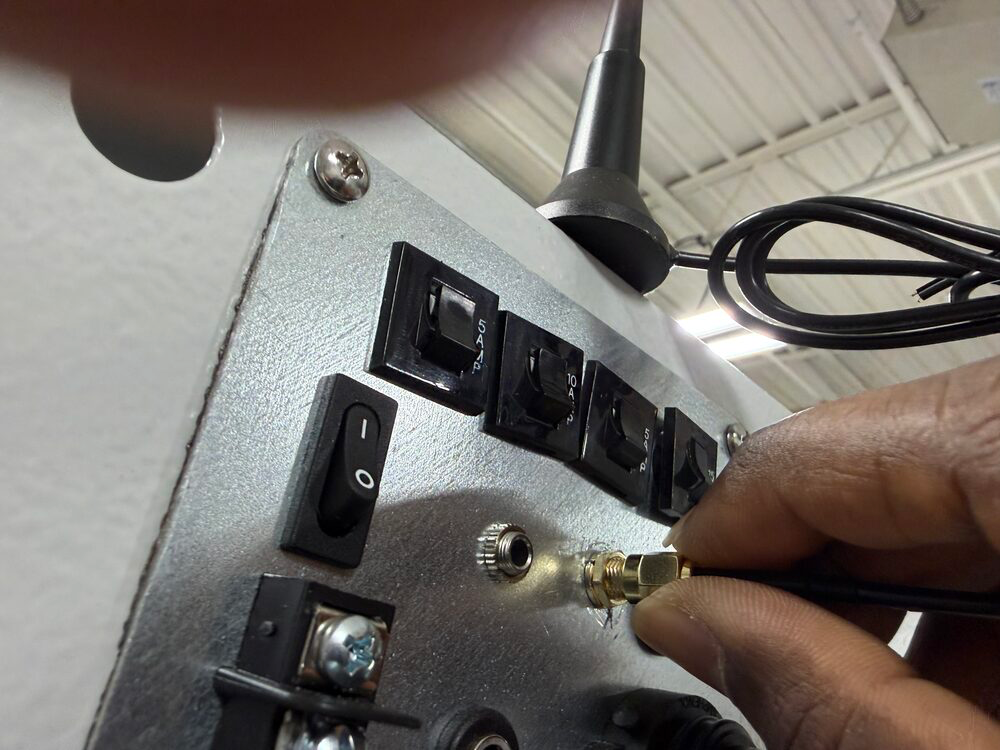
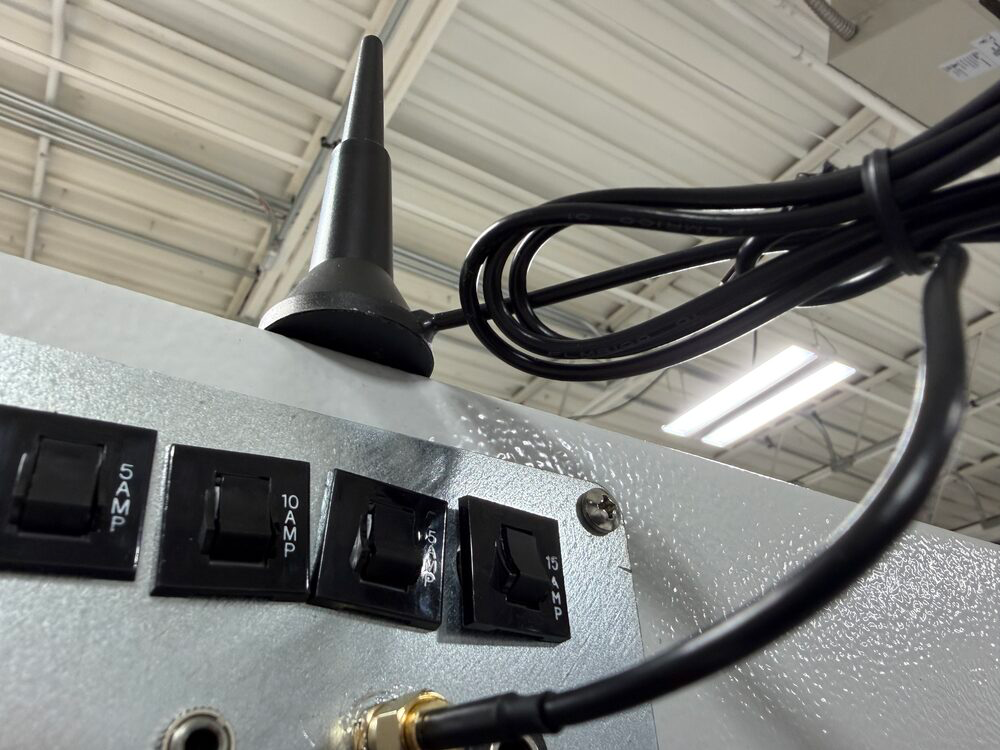
Locate the designated antenna connector shown in your supplied chamber document. Align the connector and turn it clockwise by hand until snug. Do not use pliers or a wrench.
Stand the antenna upright and unobstructed. Route the cable neatly so it cannot be pinched. Connector locations can vary by chamber; the photos below show an example installation.
Open Blynk and sign in
SenSolve uses Blynk as its viewing dashboard. Use the Blynk IoT mobile app or open Blynk in your web browser.
Already have a Blynk account? Sign in. Otherwise, register with your work email and follow the verification email to create your password. If the email does not arrive, check spam and use Resend Link.
Claim your chamber with the envelope QR
- In Blynk, choose Add New Device (+).
- Choose Scan QR Code and allow camera access if asked.
- Scan the claiming QR in the SenSolve document inside your envelope.
- Confirm that the expected chamber appears in your device list.
If scanning fails, use Enter Token Manually where available and copy the token from the document exactly. It is case-sensitive. Repeat for additional chambers using each chamber's own claiming QR.
Confirm the chamber is online
Make sure the chamber is powered on and the antenna is connected. Allow a few minutes for the connection, then open the chamber in Blynk.
- Check that the chamber name matches your equipment.
- Confirm the online indicator and that readings update.
- Keep the SenSolve document for future reference.
If the chamber remains offline, check chamber power, the antenna connection and antenna position, then contact support.
Troubleshooting
Need help getting connected?
My envelope or claiming QR is missing
Contact Darwin Chambers with the chamber name and serial number so we can identify the correct claiming details.
Blynk says “Device already claimed”
Contact us with the chamber name and serial number. We will check the existing assignment before advising the next step.
The QR will not scan
Use good lighting and hold the camera steady. Scan the claiming QR from within Blynk. If needed, enter the token printed beside that QR exactly, including any symbols.
SenSolve: support@sensolve.com
Chamber setup contact: sriram.mamidi@darwinchambers.com